What Grit Sandpaper To Use On Kitchen Cabinets - 8 Painting Over Dark Stained Kitchen Cabinets | Home Design - Typically, the only times to start with coarser sandpaper (80 or 100 grit) are on boards with deep scratches or gouges or uneven joints after gluing.
What Grit Sandpaper To Use On Kitchen Cabinets - 8 Painting Over Dark Stained Kitchen Cabinets | Home Design - Typically, the only times to start with coarser sandpaper (80 or 100 grit) are on boards with deep scratches or gouges or uneven joints after gluing.. Instead of sanding, chris and lexi use mineral spirits and a rough scrubbing pad to clean the cabinets thoroughly before priming them. Check on wood filler repairs and sand those areas to match. Skipping a grit number won't save time. The grit number of sandpaper is almost always clearly printed on the back of the sandpaper itself. If the cabinets are stained or coated with a single layer of clear finish, you may not need to use paint stripper.
Fill any small dents, scratches, or dings with vinyl spackle, smoothed flat with a putty knife. Check on wood filler repairs and sand those areas to match. The grit number of sandpaper is almost always clearly printed on the back of the sandpaper itself. You don't need to complete sand off the finish, sand it just enough to all the primer to adhere properly. You'll spend more time sanding with the next grit.
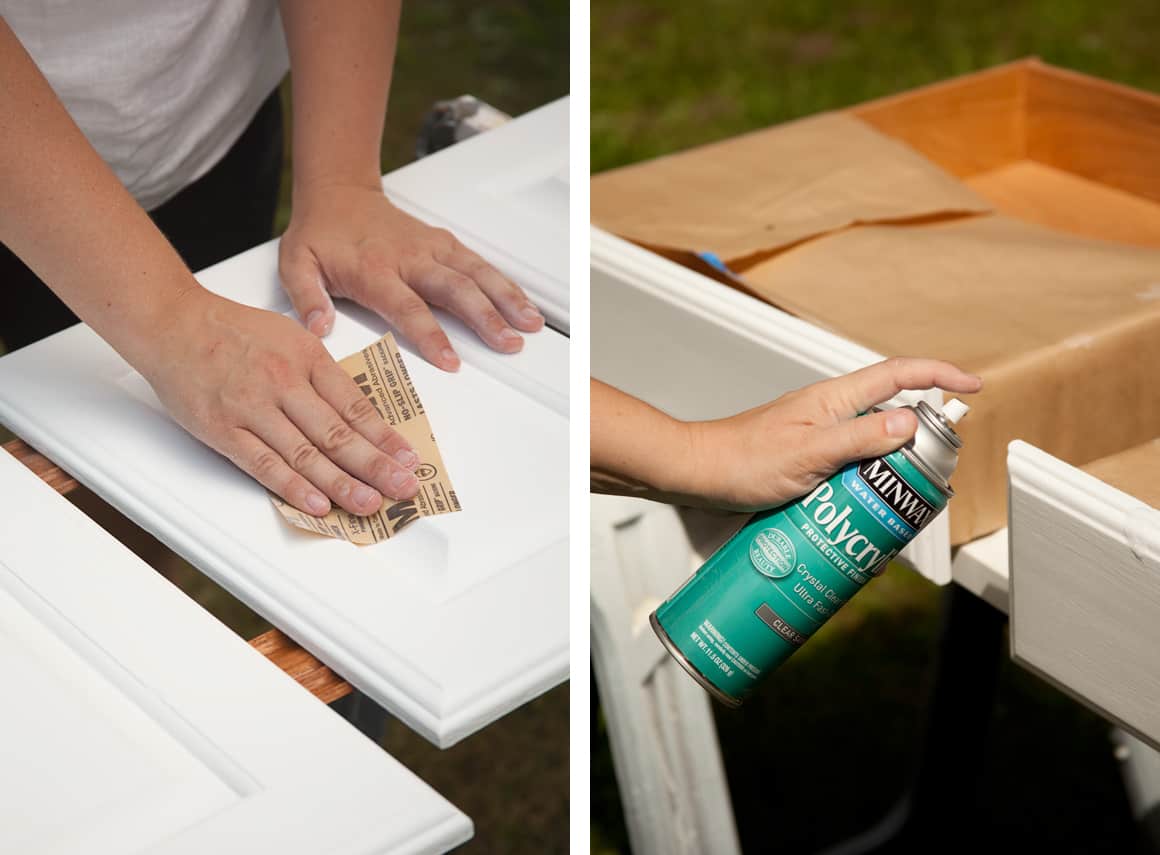
Reloved Rubbish: Amazing Chalk Paint® Transformation on ... from 1.bp.blogspot.com Fold the sandpaper to get into the detailed areas on doors and drawers, and in the corners on the frames. Belt sanders come in 3×21″ and 4×24″ models so you can plan accordingly when looking at the best sandpaper. First with 100 grit, second with 180 grit and third with 220 grit. You don't need to complete sand off the finish, sand it just enough to all the primer to adhere properly. Mask off the interiors with painters' tape for a clean finish and sand only the front surfaces and visible edges of the cabinet face frames. People get impatient, norm says. More facts on sandpaper types Use the finest grit size that'll handle the task and follow the correct sequence.
Grit numbers range from #24 all the way up to #1,000 although most people will never use grits at the top or bottom of this scale.
320 to 400 grit sandpaper: Sanding between coats is not necessary, but it will provide a better finish. In rare cases, you may also need to use extra coarse sandpaper (16 to 24 grit) where you may want to quicken the task. Wipe away any dust with a slightly damp cloth, then let dry. Skipping a grit number won't save time. Even with these instruments, choosing the right sandpaper grit and type for the job still. Fold the sandpaper to get into the detailed areas on doors and drawers, and in the corners on the frames. How do i use sandpaper? Grit numbers range from #24 all the way up to #1,000 although most people will never use grits at the top or bottom of this scale. This not only cleans the cabinet (paint doesn't go on well over grease), but the scrubby sponge also roughs up the surface just enough to make the primer stick. Best sandpaper for an orbital sander We are using the festool rts 40. The grit number of sandpaper is almost always clearly printed on the back of the sandpaper itself.
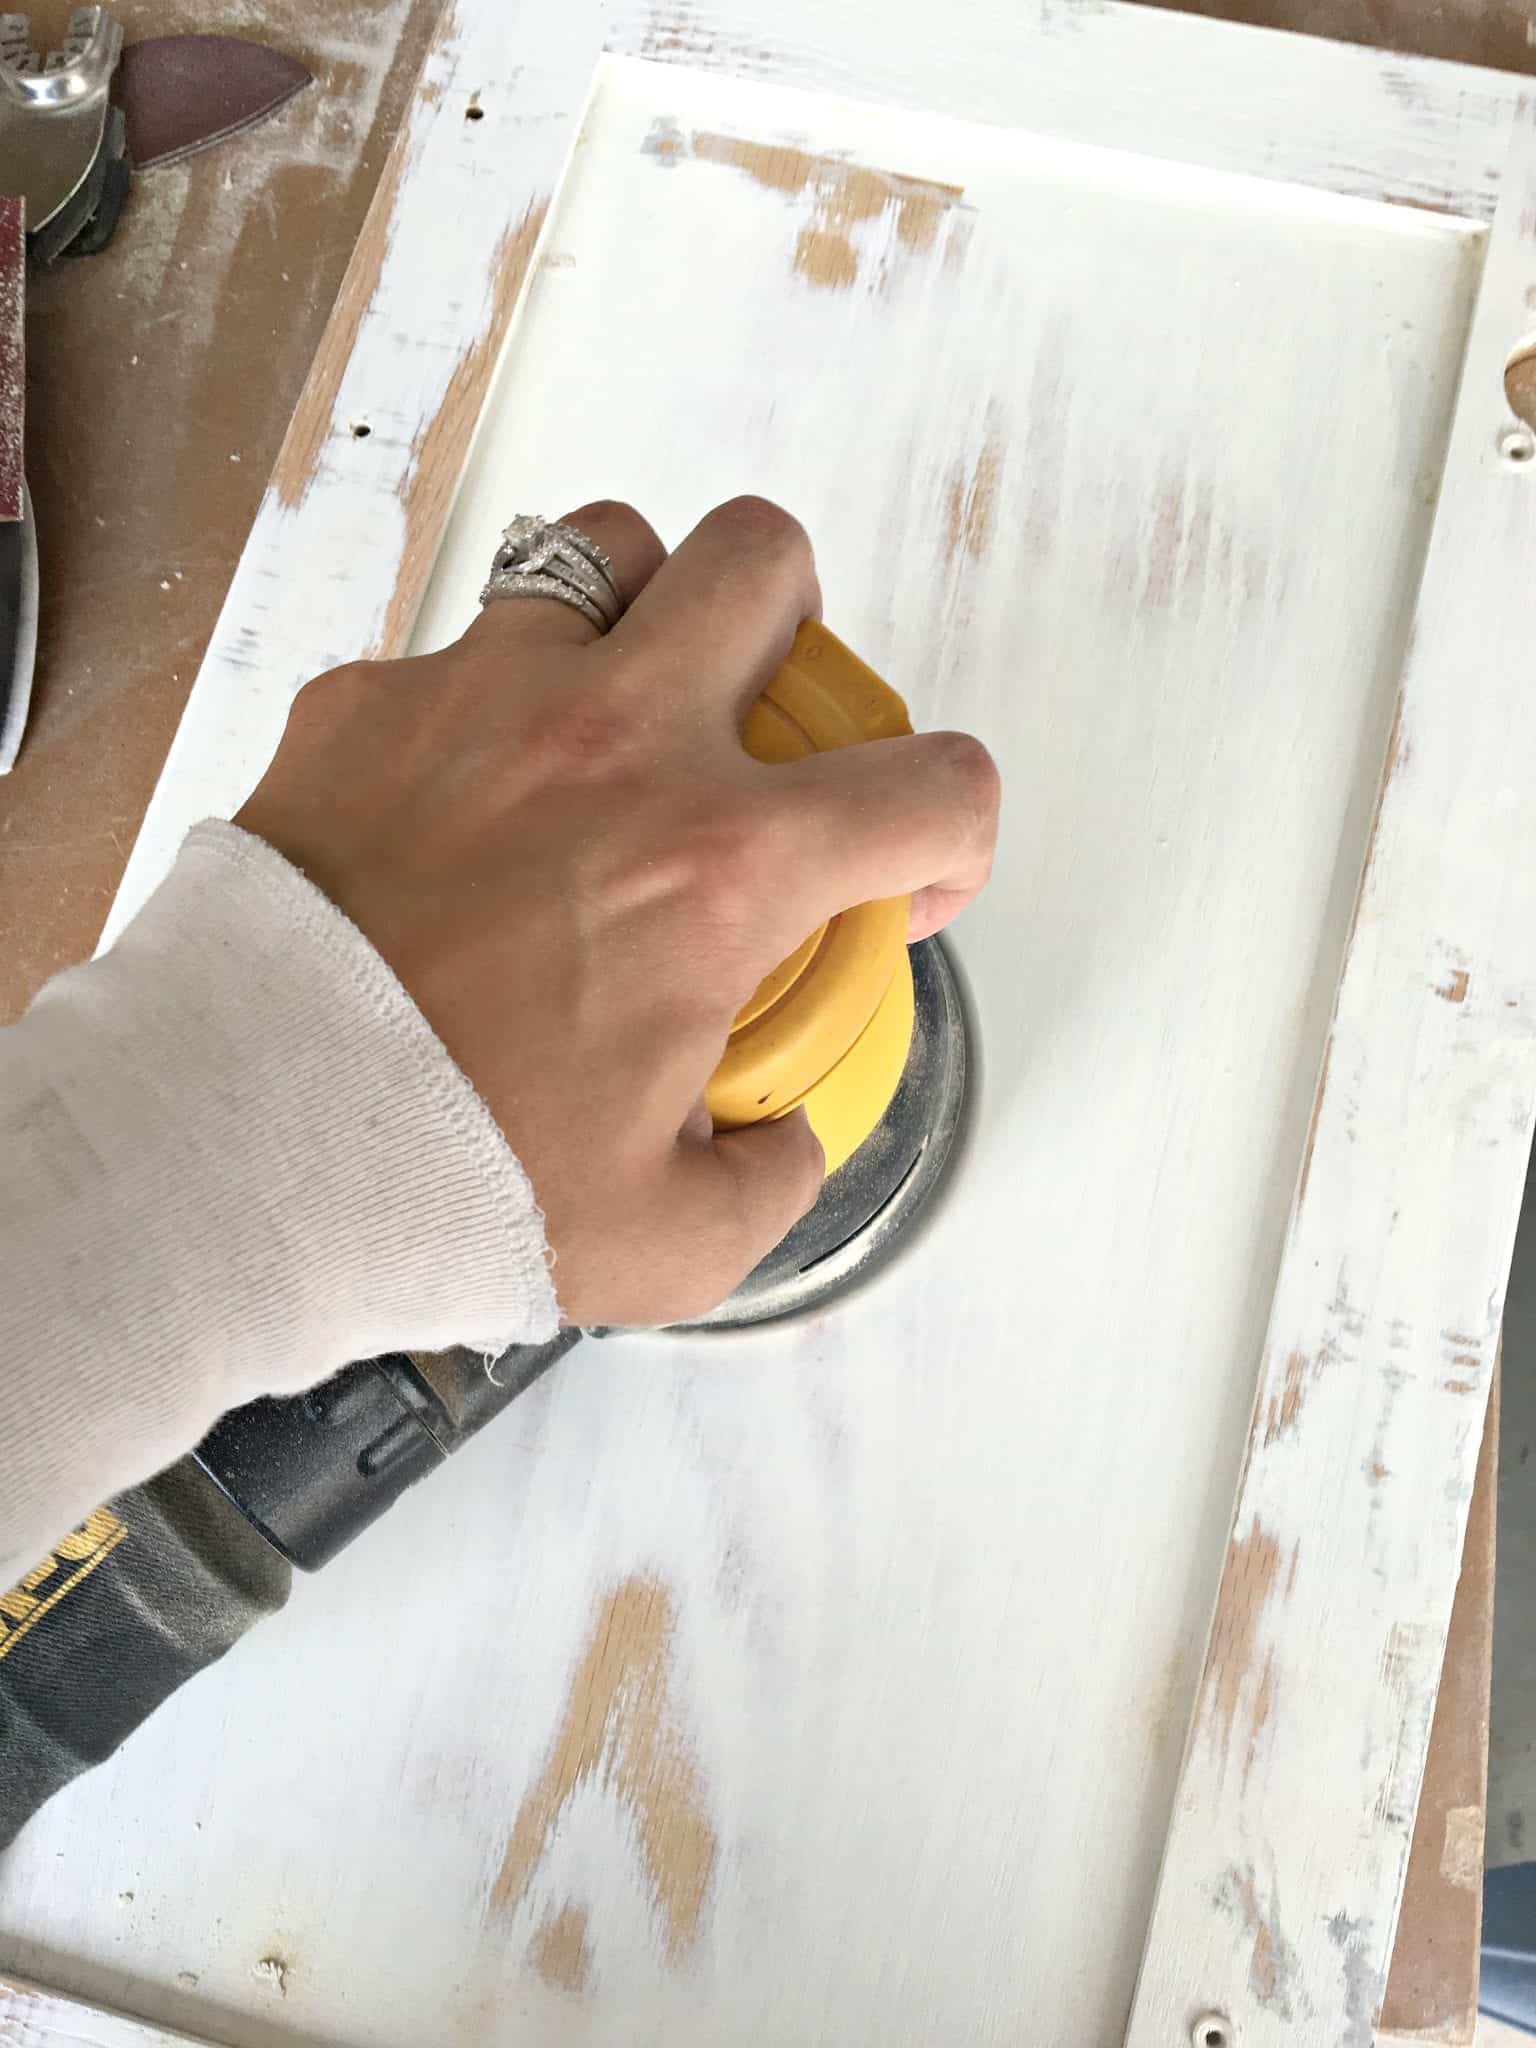
Belt sanders come in 3×21″ and 4×24″ models so you can plan accordingly when looking at the best sandpaper. Sand everything with a medium grit sandpaper to help the paint stick to the surface. But you don't need to sand to bare wood. If you are sanding cabinet doors or drawer fronts then starting at an 80 grit and working to a 120 or 150 grit is a great way to reduce time spent with an orbital sander. The grit you choose depends on the task at hand.
Achieving a Smooth Finish On Oak Cabinets from www.snazzylittlethings.com If you have access to a palm sander, capitalize on its ability to make quicker. Best sandpaper for an orbital sander This not only cleans the cabinet (paint doesn't go on well over grease), but the scrubby sponge also roughs up the surface just enough to make the primer stick. 320 to 400 grit sandpaper: In rare cases, you may also need to use extra coarse sandpaper (16 to 24 grit) where you may want to quicken the task. If you desire to get a rougher surface as an end result you may be using near to 30 grits. Wipe away any dust with a slightly damp cloth, then let dry. Fill any small dents, scratches, or dings with vinyl spackle, smoothed flat with a putty knife.
If you are sanding cabinet doors or drawer fronts then starting at an 80 grit and working to a 120 or 150 grit is a great way to reduce time spent with an orbital sander.
You don't need to complete sand off the finish, sand it just enough to all the primer to adhere properly. This not only cleans the cabinet (paint doesn't go on well over grease), but the scrubby sponge also roughs up the surface just enough to make the primer stick. They feature mid to low grit numbers. 320 to 400 grit sandpaper: 100, 150, and 220, for example. More facts on sandpaper types If you have access to a palm sander, capitalize on its ability to make quicker. Macro grits are a class of abrasives that range from medium to coarse sandpaper calibers. If you desire to get a rougher surface as an end result you may be using near to 30 grits. You don't need to complete sand off the finish, sand it just enough to all the primer to adhere properly. Sand corners and grooves with sandpaper or a sanding sponge. Fill any small dents, scratches, or dings with vinyl spackle, smoothed flat with a putty knife. Click to see full answer.
If you have a lot to sand, however, you may be better off making use of one or more popular sanding tools. This not only cleans the cabinet (paint doesn't go on well over grease), but the scrubby sponge also roughs up the surface just enough to make the primer stick. Even with these instruments, choosing the right sandpaper grit and type for the job still. Use the finest grit size that'll handle the task and follow the correct sequence. If you desire to get a rougher surface as an end result you may be using near to 30 grits.
Painting Cabinets with Chalk Paint—Pros & Cons - A ... from abeautifulmess.com More facts on sandpaper types The abrasive particles of sandpaper are referred to as its grit or grain, with the number of abrasive particles per inch determining the sandpaper's roughness, from coarse to fine. Wipe away any dust with a slightly damp cloth, then let dry. Finer grit sandpaper is great for removing the scratches left by coarser grits on unfinished wood and for lightly sanding between coats of paint. And for a slightly smoother surface use the macro grit grading near to 80 grits. Fold the sandpaper to get into the detailed areas on doors and drawers, and in the corners on the frames. 320 to 400 grit sandpaper: If your repainting project is just a facelift for the cabinets, you don't need to sand and paint the inside of the cabinets;
When determining which grit best follows the one just used, remember that the next grit should be no more than about 50 percent higher than the one before it;
If you have access to a palm sander, capitalize on its ability to make quicker. Use a sanding sponge to dig into any tough areas that need special attention or corners that are hard to get with your sander. 180 to 220 grit sandpaper: Belt sanders come in 3×21″ and 4×24″ models so you can plan accordingly when looking at the best sandpaper. The grit you choose depends on the task at hand. Sand everything with a medium grit sandpaper to help the paint stick to the surface. People get impatient, norm says. If you have a lot to sand, however, you may be better off making use of one or more popular sanding tools. Macro grits are a class of abrasives that range from medium to coarse sandpaper calibers. 100, 150, and 220, for example. Check on wood filler repairs and sand those areas to match. Coarse sandpaper has low numbers, between 40 and 60, while fine sandpaper has higher numbers, from 150 and up. You don't need to complete sand off the finish, sand it just enough to all the primer to adhere properly.